반응형
#include <SevenSegmentTM1637.h>

SevenSegmentTM1637 display(4, 5); // Create a 7-segment display object

void setup() {
  Serial.begin(9600); // Initialize serial communication with a baud rate of 9600
  display.begin(); // Initialize the 7-segment display
}

void loop() {
  if (Serial.available() > 0) { // Check if data is available from the serial port
    String input = Serial.readString(); // Read the data from the serial port as a string
    display.print(input); // Print the input on the 7-segment display
  }
}
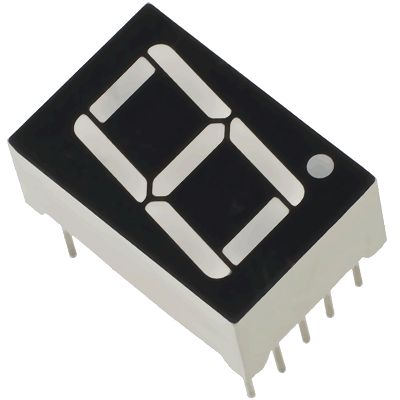
이 코드에서는, 7 세그먼트(Segment)를 사용하고 있습니다.TM1637 라이브러리는 7 세그먼트 디스플레이 객체를 생성하며, 이를 통해 Arduino가 CLK 및 DIO 핀(이 예에서는 4와 5)을 사용하여 디스플레이와 통신할 수 있습니다.그런 다음 시리얼 포트로 들어오는 데이터를 읽어 7 세그먼트디스플레이에 표시합니다.
7 세그먼트 디스플레이를 Arduino 보드의 올바른 핀에 연결하고 올바른 핀이 코드에 지정되어 있는지 확인하십시오.또, 시리얼 모니터등의 디바이스를 열어 입력을 송신해, 7 세그먼트 디스플레이에 표시할 필요가 있습니다.
반응형
'TECH' 카테고리의 다른 글
| [Arduino] 아두이노로 MPU-6050 가속도센서 사용하기 (0) | 2023.02.02 |
|---|---|
| [Arduino] Xbee 통신 예제 코드 (0) | 2023.01.30 |
| PWM vs PPM (0) | 2023.01.25 |
| [Arduino] 아두이노와 블루투스 모듈로 LED ON하기 (0) | 2023.01.25 |
| UAV trend and shortcomings (0) | 2023.01.25 |


댓글